N100 Unraid Build and Synology Migration

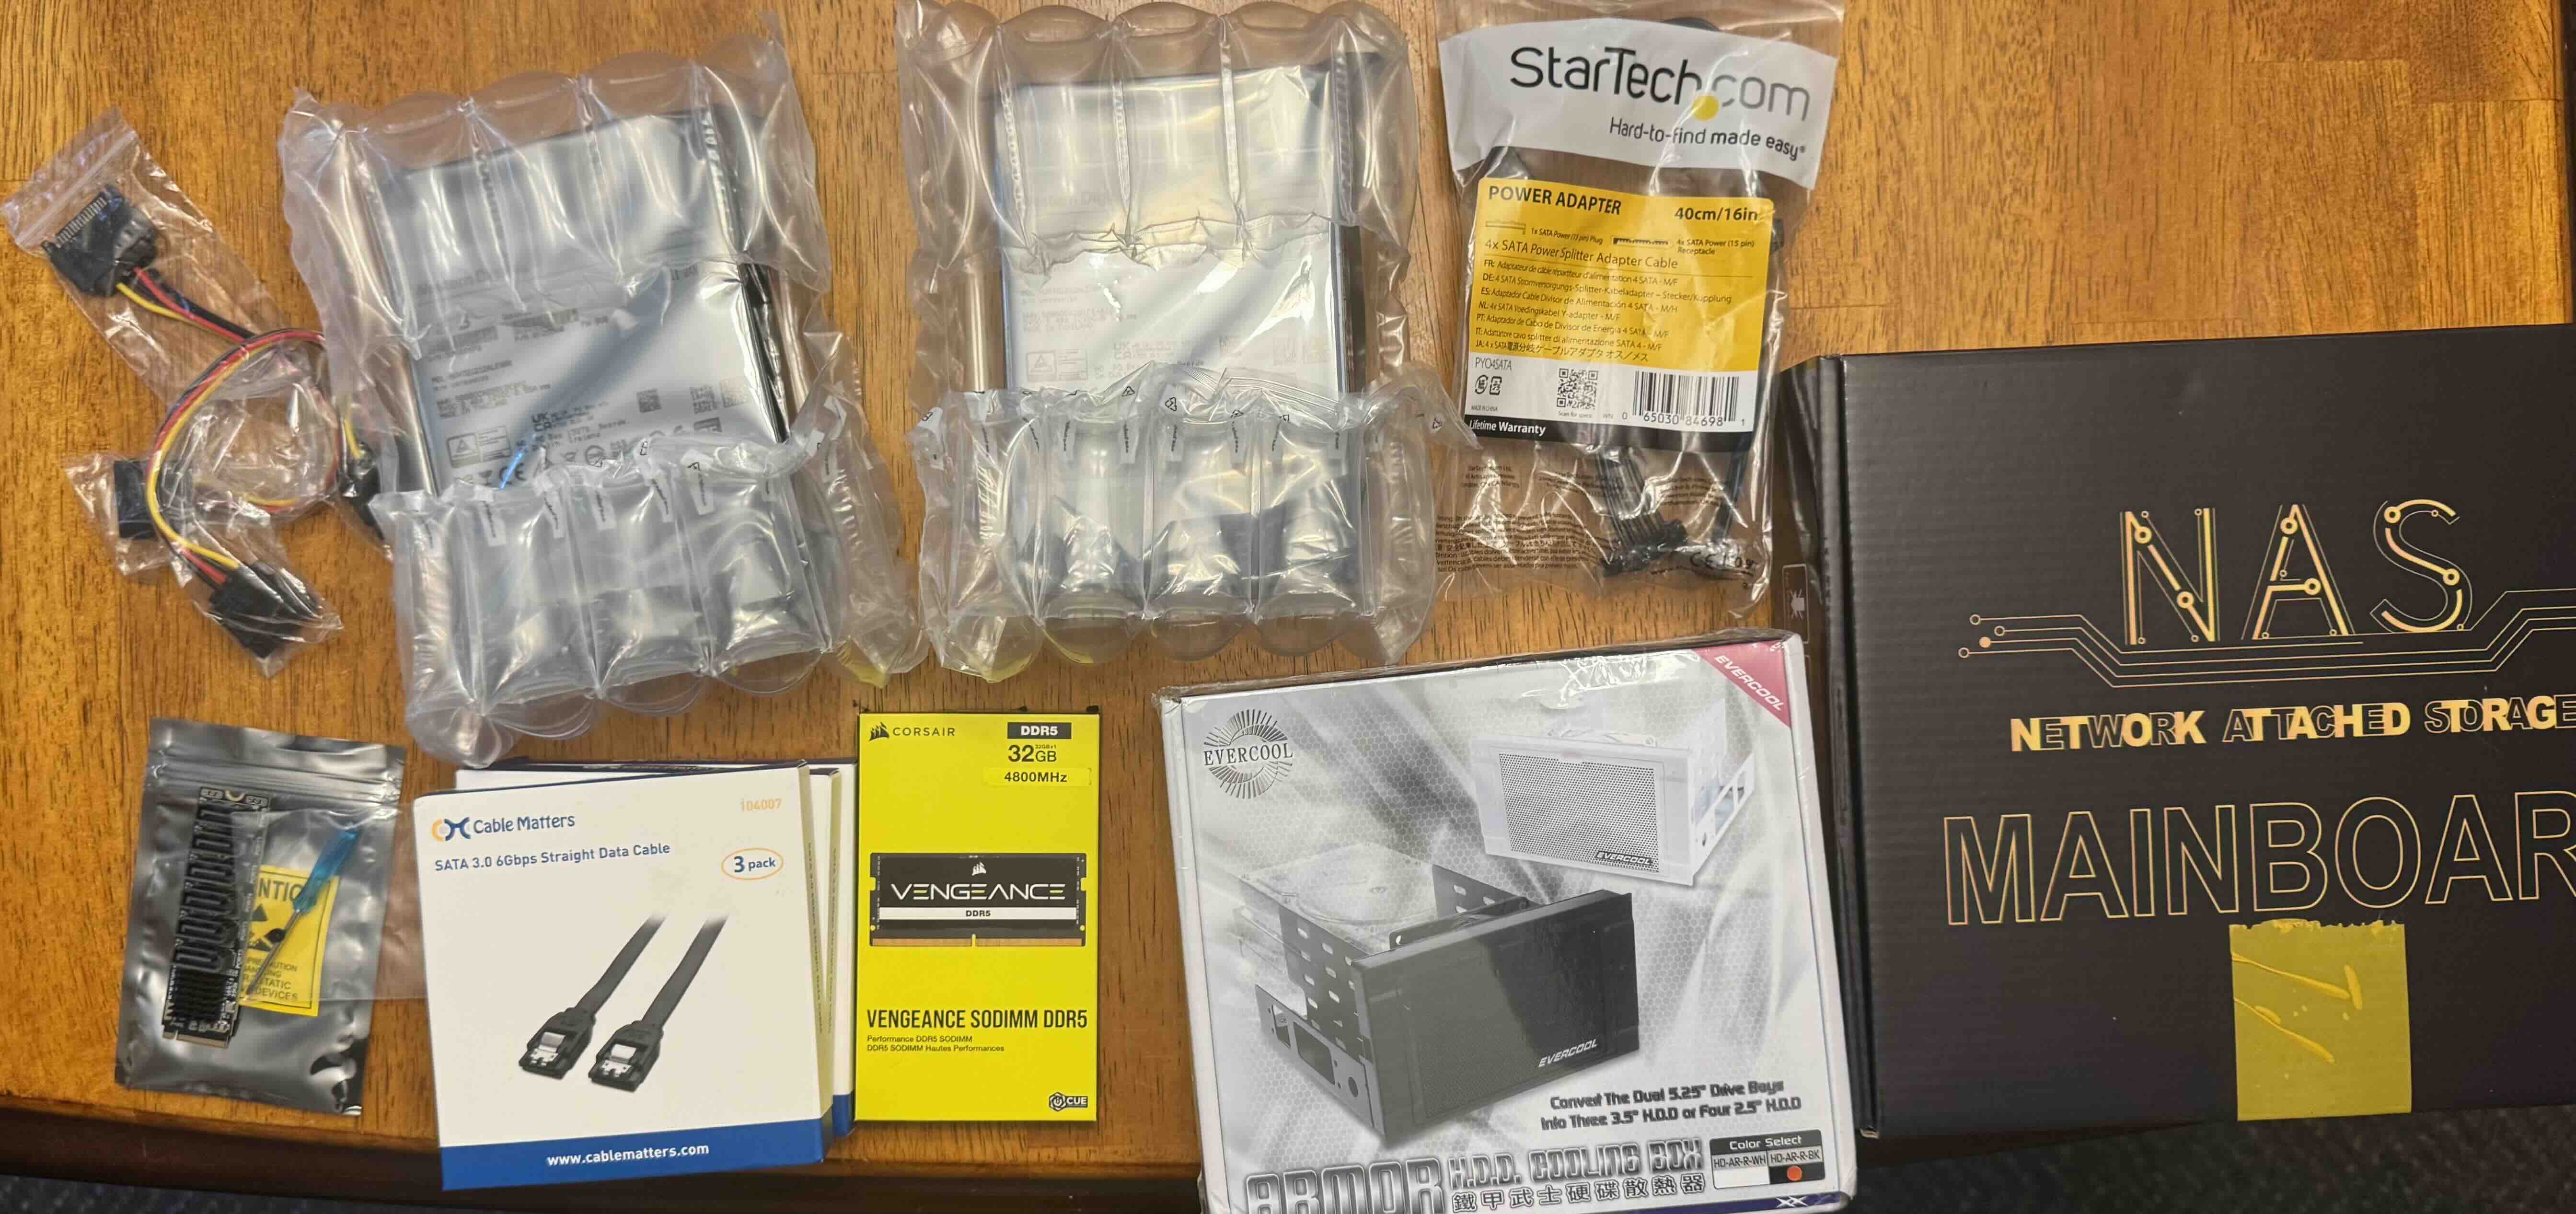
Parts List:
- n100 motherboard
- 32GB DDR5 4800MHz RAM
- m.2 to 6x SATA adapter
- 5.25" to Cooled 3.5" Adapter
- Additional 2.5" Drive Tray
- 2x 12TB Refurbished SATA HDD
- 3x Assorted 6TB HDD
- 4x 1TB SATA SSD
- 1x 1TB nvme cache SSD
- Old 600W EVGA Power Supply
- Old Rosewell Mid-Tower Case
I recently moved my “production” homelab to an n100 based NAS I build in an old gaming computer case, from a Dell PowerEdge R630 and a Synology DS220+. It was a three step move, step one was to get the new box up and running. Step two was to transfer the data from the synology and the workload from the PowerEdge. Step 3 was to get the remaining drives out of the Synology and PowerEdge and into the new Unraid box.
The Build#
It has been a bit since I have built a computer, and this was a bit of a new experience. The N100 board is a small forum factor, and already had the CPU and cooled built into the board. I have also never filled a case with so many drives. Now I didn’t add all of them until later on, but as you can see by the part list, it was ended up loaded.
It took some time to remove the old motherboard and drives. The old system was the motherboard from the first computer I ever built in 2012 - an AM3+ motherboard that started with a Phenom II x4 cpu that was later upgraded to an AMD FX-8350. I am still a sucker for the logo design on those chips.

Once I got the initial build done - n100 mounted, power and front panel headers connected, and 3 of the hard drives (2x 12TB, 1x 6TB) I was ready to get the OS installed. With Unraid, you install the OS on a USB drive. This board, being built as a NAS motherboard, had an internal USB 3.0. So I imaged a 64GB USB (which required me to manually make the USB bootable. I also only make a 20GB partition so I didn’t have to bother doing anything weird to get a FAT32 partition on it.)
Moving the data#
Once everything was booted, I added a 12TB drive for parity, and the other 2 drives as data disks. It was going to take over a day to calculate parity, so I started transferring the data from the Synology. I found the best method was to setup and mount an NFS share from the Synology on the Unraid box. I added NFS to my network share and added the IP of the Unraid box as read/write.
-
Setup your share in unraid. In this example, the share name will be share
-
Mount the old servers share. Example NFS mount command bellow. Replace IP with your server’s IP, /share with the share name, and /synology/share with where you want to mount it.
mount -t nfs 10.10.0.10:/share /synology/share
- Use rsync to ensure a full sync between the two devices
rsync /synology/share/ /mnt/share
This make take a long time to complete, depending on the amount of data you are moving.
Moving the Drives#
I am going to skip past setting up all my docker containers, since I recreated them all and didn’t migrate. So at this point, I was able to take 4x 1TB SSD’s out of my PowerEdge since my workload had been moved to docker on the Unraid box, and 2x 6TB drives from the Synology.
I shutdown the Unraid box, and wired up the new drives. Once back in unraid, I added the SSD’s to a pool, which by default setup a mirror btrfs filesystem, which is what I wanted. So no change needed there.
I also added the 6TB drives to the array. Before it allowed me to format them, Unraid does a disk clear. This means the disk is written with all 0’s so parity is not lost and does not need to be recalculated. This is done automatically, you do not need to do anything special. Once the disk clear was done (It took somewhere between 3-6 hours, I was not keeping close track) I was able to format the drives with a file system (literally pressing the format button) and they were now part of the main protected array.
